Christmas Table With Jam Jar Lighting
by Val
(Norwich, UK)
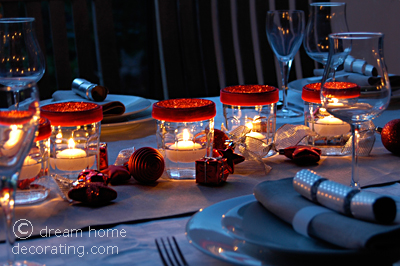
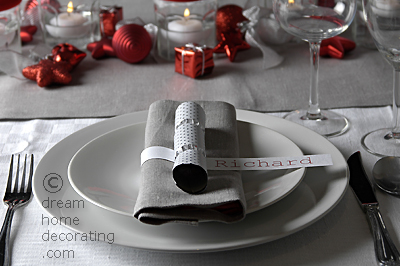
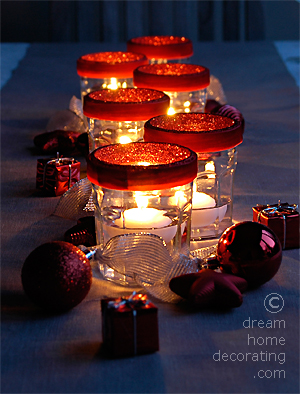
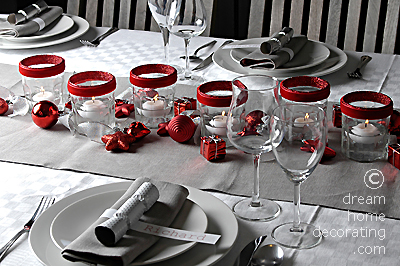
Christmas table setting with 'upcycled' jam jar lights
I like my Christmas table settings excessively cheap, but of course without *looking* cheap in any way. This year, I used mostly what I had in the house, and only bought:
I bundled the ornaments into small clusters of 2 or 3 with wired silver ribbon, recycled from a Christmas gift I got last year. The ribbon was exactly the right length so I didn't even have any wastage!
The place cards are strips of stationery, printed with the names, tucked under the napkin and then held in place by the Christmas crackers.
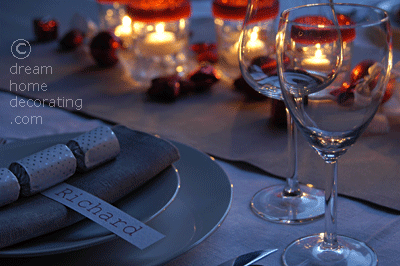
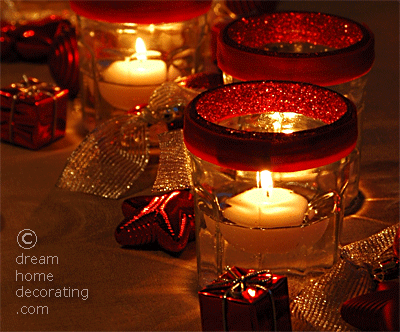
The lights are recycled supermarket jam jars. While I like their shape, I do have a gripe with screw cap glass jars, because no matter how fancy the ribbon that you tie around the top, the glass thread for the lid remains highly visible on the inside. And if you put a burning candle into the jar you're practically spotlighting the thread!
In an attempt to hide the thread, I coated the inside of the rim with glue and doused it with some glitter I still had in my craft drawer. (I could have just used paint instead, but didn't have the right colour and was too stingy to go out & buy a new one).
Step 1: Glue & Glitter
You will need:
- A flat, soft brush, about ½ inch wide;
- White (water based) craft glue;
- A small tub of craft glitter (you'll need less than you think);
- Paper or baking parchment, to collect the excess glitter and funnel it back into the tub.
Paint an even, thin (=not runny) coat of white glue on the inside rim of the jar, covering the entire back of the thread as well as the top of the rim for a finished look. Then immediately pour glitter over the wet glue. Turn the glass around to spread the glitter and avoid bald spots. Shake out and let dry completely before you continue. (The glue dries clear.)
Step 2: Ribbon on outside
You will need:
- Repositionable glue to hold the ribbon in place (N.B. if you're making a knot or a bow, this and the ribbon is all you need);
- Opaque ribbon that is wide enough to cover the thread on the outside (I used ¾ inch velvet ribbon from an old sewing project);
- Strong/hot glue to stick down the ribbon ends securely;
- For additional safety you could use 1-2 short pins (sold here in the UK as ‘jewellery pins’).
Measure and cut the ribbon, leaving enough for overlapping ends. Apply repositionable glue to the back of the ribbon and then lay it over the thread of the jar (the repositionable glue should help keep the ribbon in place). Pull it taut and securely glue down the ends (to the glass and over each other). For additional safety, pin the top ribbon into the bottom layer.
Step 3: Lighting the candles
To get a floating candle into the water without drowning it, I have found that the best way is to light it outside the jar and then gently ladle it in with a tablespoon. (I dropped the first few into the water from too high and they immediately went under.)
Do these "Christmas lanterns" still have the jam-jar look? Undoubtedly. You can't mistake that shape for anything else. But I reckon painting the inside rim rather improved the appearance. For future projects, I'll try blackboard paint, metallic wall paints, or maybe even silver leaf (if it's a deserving jar).
Comments for Christmas Table With Jam Jar Lighting
|
||
|
||
|
||
