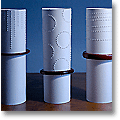
Paper Lantern Craft:
How To Make Paper Lanterns
(Easy Paper Crafts For Kids!)
These paper lantern craft ideas are great for making paper lanterns with children, and you can basically make them any size you want.
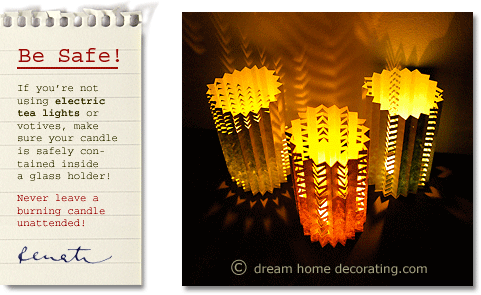
Use the lanterns with electric tea lights, or with tall votive candles in secure glass holders. If you place them near a wall you'll get lovely light patterns!
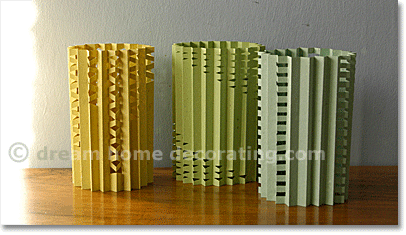
How To Make A Lantern Like This:
Basic Materials & Tools
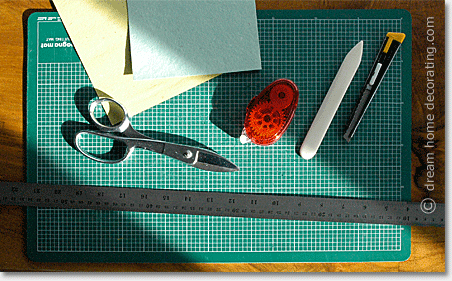
You will need:
- colored paper or card (I used cheap recycled paper)
- a ruler
- a bone folder (alternatively, use the back of a knife)
- scissors
- craft glue (e.g. PVA) or roll-on adhesive
- battery powered tea lights (LEDs), or tall votives in glass holders
- Alternative to scissors: a craft knife & a cutting mat.
Making A Paper Lantern: Preparing Your Paper
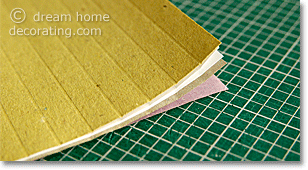
Prepare crisp, clean folds by scoring your pleat lines into the paper with a bone folder (photo left)
Experiment with scrap paper first, until you have the right size for your pleats - the wider you make them, the more paper you will need for each lantern.
To make a candle lantern, cut your paper to the height of the glass candle holder before you start folding.
Paper Lantern Craft Idea 1
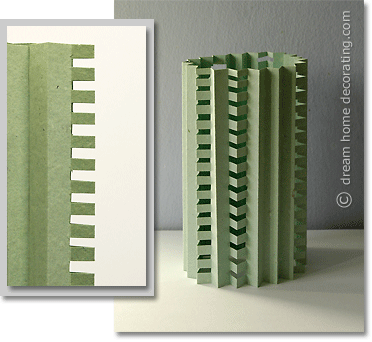
Pleat the paper and pull it round into a lantern shape, but don't glue the ends
together yet. Determine which of the ribs should get a cutout pattern (the
lantern in the photo has a total of five patterned pleats, in
irregular intervals).
Flatten the paper a little, and keep only the fold you want to cut into. Make sure you cut the rectangles all the way to the fold line. Repeat for the other pleats you want to embellish with cutouts.
Then re-pleat the paper and glue the two ends together to make a lantern.
Paper Lantern Craft Idea 2
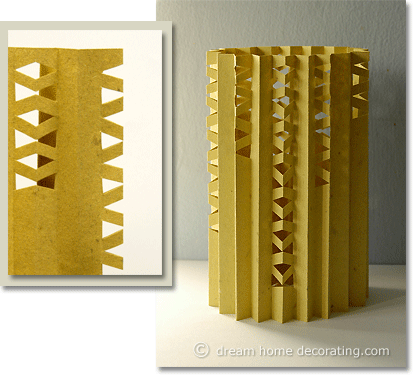
This paper lantern has a cutout pattern on every other rib,
all starting at the top rim but different in length.
Again, make sure you cut all the way to the crease for a clean look!
Experiment with different pattern placements - try a ring round the middle, or turn your paper lantern around so that the pattern goes from the bottom up.
Paper Lantern Craft Idea 3
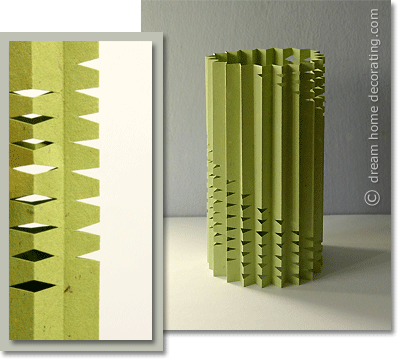
With this paper lantern design, be careful not to cut all the
way to the crease, or the lantern will fall apart ;-)
To create a stripe of tiny cutout lozenges that 'spiral' around the paper lantern, move a line of cut holes down by one hole on each consecutive rib, making sure you continue the pattern around the back where the two sides meet.
On larger paper lanterns, experiment with several broad/narrow stripes!
Have fun, and ...
More Paper Lantern Craft: Click A Pic!
Yet to find the information you're looking for? Type a word or phrase into the search box below:

