Unique Christmas Lights, Step By Step:
Personalized Tealight Candle Holders

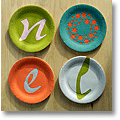
Unique Christmas lights with tons of creative options!
Turn these unique Christmas lights into:
♦ a personalized tealight candle;
♦ homemade Christmas party favors;
♦ unique Christmas table decorations.
♦ Use it as a starting point for Christmas kids crafts, or create Valentine Table Decorations ... St Patricks Day Lights ... there's no limit to what these tealight holders can be turned into!

Personalized tealight candle ideas: Easy to make Christmas decorations.
(More creative ideas here.)

Valentine table decorations made from 'Christmas' tealights!

St Patricks Day lights made with tealights & paper hearts.
How To Make Unique Christmas Lights:
You will need:
♦ Colored card
♦ Corrugated cardboard
♦ Tea light(s)
♦ Pen/pencil
♦ Scissors
♦ Cutting knife
♦ Cutting mat
♦ Metal ruler
♦ Bone folder (or a very blunt knife)
♦ Glue (hot glue gun optional)
Personalized Tealight Candle Holders, Step By Step
1. Heat Insulation
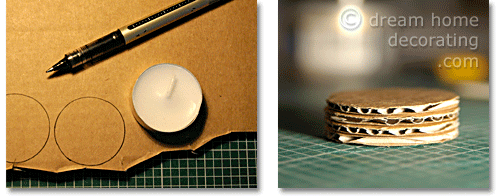
Step 1: Trace a tealight onto corrugated cardboard & cut out. This is the heat insulation pad for your tea candle. (For added height, glue a few discs into a stack.)
These tealight holders were inspired by Mia's Christmas table setting. Tealights will get very hot, and Mia's solution was to 'pad' the bottom with corrugated cardboard.
While one layer of thick cardboard is likely to be enough to protect your tabletop from heat damage, you can add safety & substance to your tea candle holder by gluing a stack of cardboard discs together. (Before using it in Step 3, make sure the glue has completely dried!)
2. Create The Bottom Of The Shell
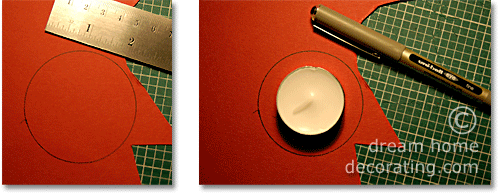
Step 2a: Cut out a circle of approx. 2.5in diameter. Trace a tealight into its center.
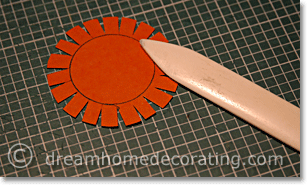
Step 2b: Cut notches into the circle.
The larger circle should give you roughly a ½-inch margin around the tealight. (Many glasses & mugs come pretty close in diameter for easy tracing!)
Don't worry too much about setting the tealight exactly into the center of the circle. Just eyeball it.
Cut out the larger circle and then cut notches around the interior circle. Next, take a bone folder or a blunt knife and score that inner circle. This will give your unique Christmas lights a nice round 'footprint' and make it easier to fold the little flaps upward (Step 3).
3. Prepare To Add The 'Side Wall'
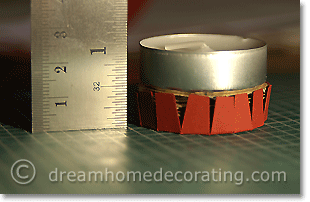
Step 3: Fold the flaps up & insert the padding.
Glue the cardboard disc (or stack of discs) into the 'bottom' and set the tealight on top, but don't glue it down.
Measure the height from the tabletop to the rim of the tea candle.
Next, cut a six-inch strip of colored card that is exactly the width you've just measured.
A word about paper 'direction': Roll a sheet of paper or card up from different sides and you'll find that the paper bends more easily in one direction than in the other.
If at all possible, cut your strip in a direction the paper 'likes' to roll in. The photo below shows the effects of working with the paper grain (left) and going against it (right):
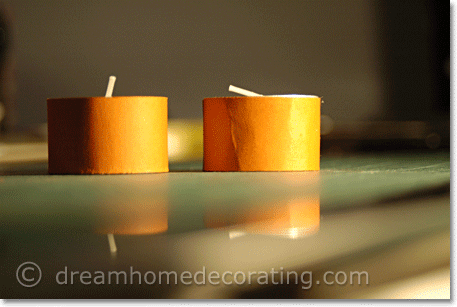
Find out which direction the card is easiest to roll!
4. Finish The Tealight Holder
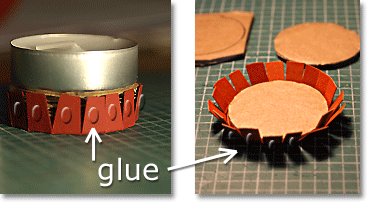
Step 4a: Dab on the glue for the side 'wall'.
After cutting the strip to the right size, dab small amounts of glue onto the flaps around the bottom layer.
Be sparing - a little goes a long way!
Btw, I've faked the glue in the picture above, because between dabbing it on and placing the strip around the tealight there's absolutely no time to take photos. You gotta be quick ;-)
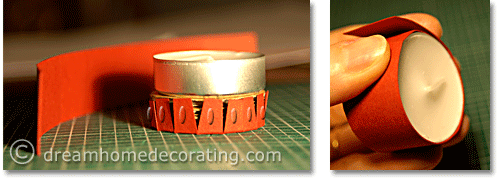
Step 4b: Wrap the card strip around the stack, press & hold.
The easiest way to finish your unique Christmas lights is to set the card strip on the tabletop and then 'hug' it around the stack. Make sure it sits flush with the work surface so you get a clean, finished look.
Keep the tealight sitting inside the holder during this step, to make sure you don't pull the sides too tight. You want a snug fit, but not too snug to replace the tealight once it has burnt out!
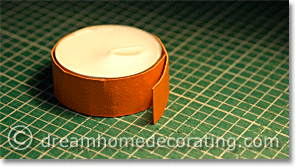
Once the glue has bonded and dried, snip off excess strip, and glue the end bit down safely. (The overlap was there to help pull the construction together.)
The procedure is exactly the same for lower tealight holders, except that the candle sits deeper inside the bottom-layer 'collar'.
Ideas For Creating Unique Christmas Lights:
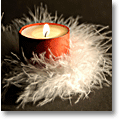
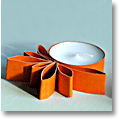
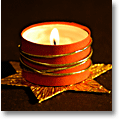
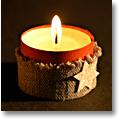
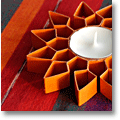
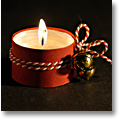
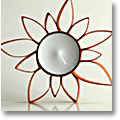
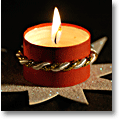
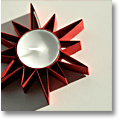
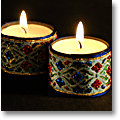
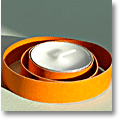
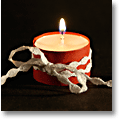
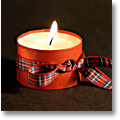
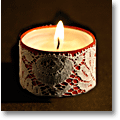
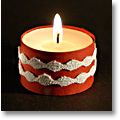
The first making instructions I've managed to complete were for Valentine table decorations! In the meantime, why not use these pics to get ideas for new Christmas crafts with tealights (detailed instructions to follow!)
|
|
|
|
|
|
|
|
|
|
|
|
|
|
|
|
Yet to find the information you're looking for? Type a word or phrase into the search box below:

